A detailed, informative, helpful, and easy-to-read guide to growing healthy lentil plants from seed to harvest.
Lentils are nutritious legume crops grown for their edible seeds. They are rich in protein, fiber, iron, and other nutrients, making them an important food crop in many parts of the world. Lentils are also useful in farming because they can help improve soil fertility by working with beneficial bacteria that fix nitrogen.
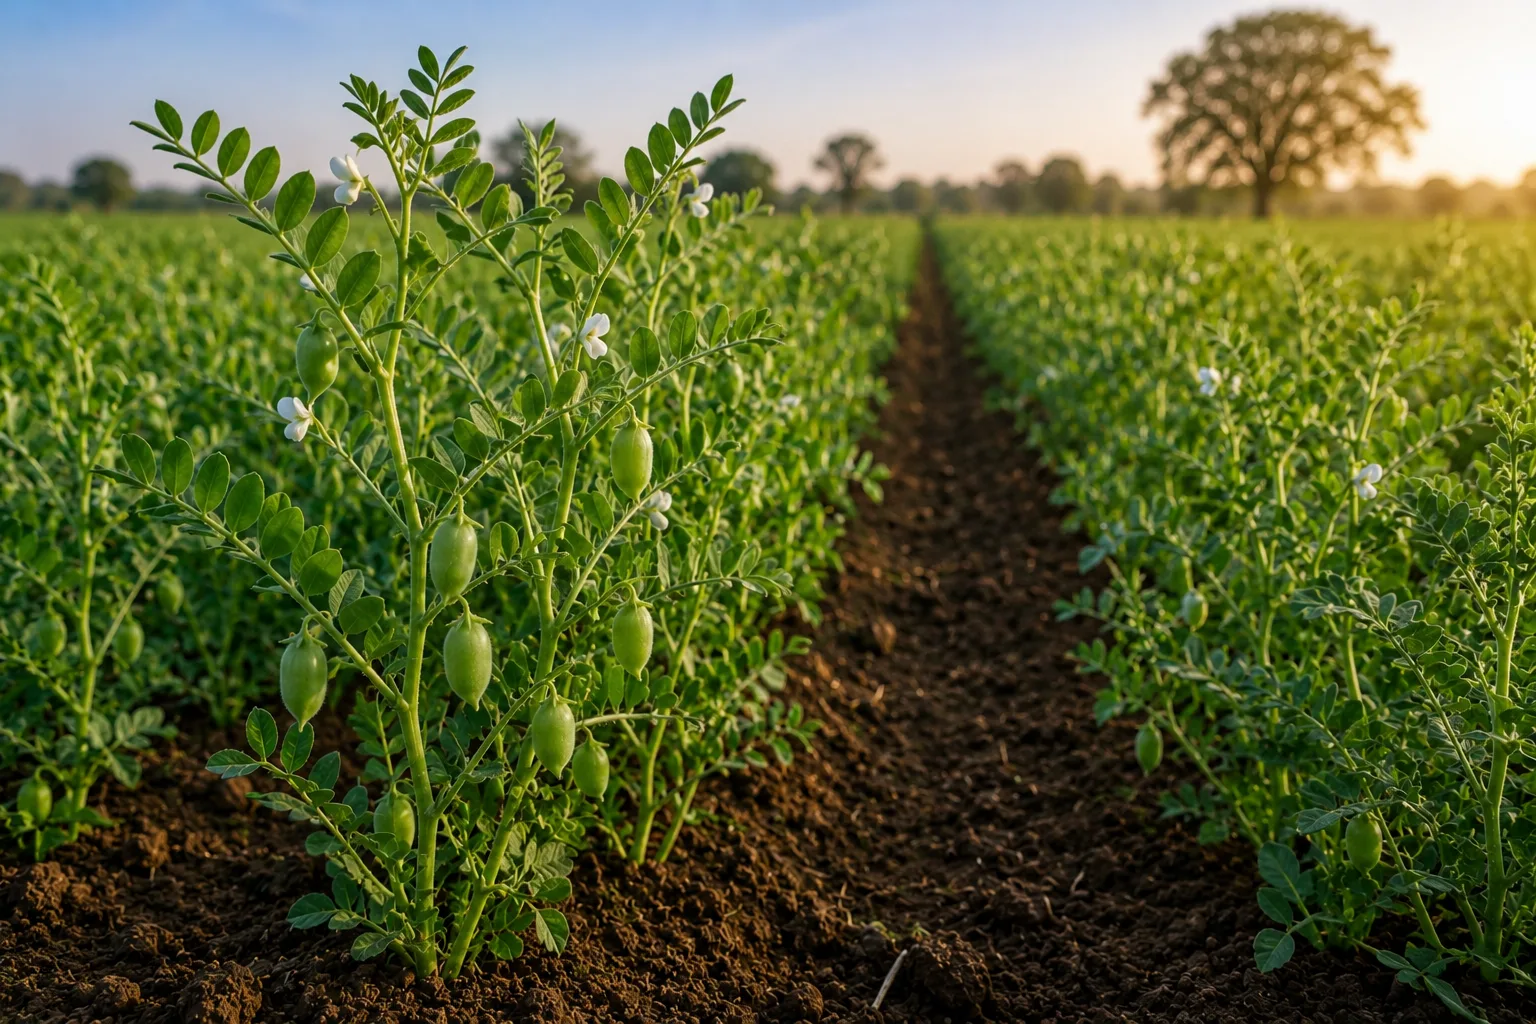
Planting lentils properly requires good seed, well-prepared soil, correct timing, proper spacing, careful water management, weed control, and timely harvesting. Lentils are not difficult to grow, but they need the right conditions to produce a healthy crop.
1. Understand What Lentils Need
Lentils grow best in cool to mild weather and are commonly planted as a cool-season crop. They do not like extreme heat during flowering and seed development. They also do not grow well in waterlogged soil.
Lentils generally prefer:
- Cool to moderate temperatures
- Well-drained soil
- Good sunlight
- Moderate moisture
- Low weed competition
- Good air movement around plants
2. Choose Good Lentil Seeds
Good seed is the foundation of a good lentil crop. Poor-quality seed can lead to weak germination, uneven plants, disease problems, and low yield.
Good lentil seed should be:
- Clean and free from weed seeds
- Healthy and not cracked or damaged
- Free from mold or insect damage
- Suitable for your local climate
- High in germination rate
- From a trusted seed supplier when possible
3. Select the Right Lentil Variety
Lentils come in different types, sizes, and colors. Some mature faster, some tolerate certain conditions better, and some are preferred by specific markets.
Common lentil types include:
- Green lentils: Often larger and good for cooking because they hold shape well.
- Brown lentils: Common and versatile for soups, stews, and everyday meals.
- Red lentils: Often split and cook quickly, commonly used in soups and curries.
- Black lentils: Small, dark lentils with a firm texture.
Choose a variety based on your growing season, disease pressure, soil type, and market or home cooking needs.
4. Prepare the Soil Properly
Lentils grow best in loose, well-drained soil. Heavy clay soil that holds too much water can damage roots and increase disease risk. Soil should be prepared before planting so seeds can germinate evenly.
Good soil preparation includes:
- Removing weeds and old crop residue
- Loosening compacted soil
- Breaking large clumps
- Leveling the planting area
- Improving drainage if water collects
- Adding compost if soil is poor
Avoid overworking the soil when it is wet because this can create compaction and poor structure.
5. Plant at the Right Time
Lentils are usually planted when the soil is workable and the weather is cool. Planting at the right time helps the crop establish well before hotter weather arrives.
The best planting time depends on the local climate. In many areas, lentils are planted in early spring or during a cool growing season. In warmer regions, they may be planted in a suitable winter or dry-season window.
Avoid planting when the soil is too wet, too cold, or likely to become waterlogged.
6. Use Proper Planting Depth
Planting depth affects germination. If lentil seeds are planted too shallow, they may dry out or be eaten by birds. If planted too deep, seedlings may struggle to emerge.
Lentils are usually planted shallowly in moist soil. The exact depth depends on soil type and moisture. In lighter, drier soil, seeds may need to be slightly deeper. In heavier soil, shallow planting is usually better.
7. Use Proper Spacing
Proper spacing helps lentil plants receive enough sunlight, airflow, water, and nutrients. It also helps reduce disease risk and makes weed control easier.
Good spacing supports:
- Better plant growth
- Improved airflow
- Less disease pressure
- Easier weeding
- More even maturity
- Better harvest quality
In gardens, lentils can be planted in rows. On farms, they are often seeded with equipment at a recommended rate for the variety and region.
8. Water Carefully
Lentils need moisture to germinate and establish, but they do not like excessive water. Too much water can cause root disease and poor growth.
Good watering practices include:
- Keep soil lightly moist during germination
- Avoid waterlogging
- Water during dry periods if needed
- Reduce water near harvest when plants begin drying
- Use well-drained soil to prevent standing water
Lentils often do better with moderate moisture than with overly wet conditions.
9. Understand Nitrogen Fixing
Lentils are legumes, which means they can work with helpful soil bacteria to fix nitrogen from the air. This can reduce the need for nitrogen fertilizer and improve soil health.
In some areas, farmers use a rhizobium inoculant on lentil seed before planting. This helps the crop form root nodules that support nitrogen fixation, especially in fields where lentils or similar legumes have not been grown recently.
Ask a local agricultural supplier or extension service whether inoculation is recommended in your area.
10. Fertilize Wisely
Lentils usually do not need heavy nitrogen fertilizer because they can fix nitrogen when the right bacteria are present. However, they may still need phosphorus, potassium, sulfur, or other nutrients depending on the soil.
Good fertilizer practices include:
- Use soil testing when possible
- Avoid too much nitrogen fertilizer
- Apply nutrients based on soil needs
- Use compost carefully if soil is poor
- Follow local agricultural recommendations
Too much nitrogen can encourage leafy growth instead of good seed production.
11. Control Weeds Early
Lentils do not compete strongly with weeds, especially when young. Early weed control is very important for good yield.
Weed control methods include:
- Planting in clean soil
- Removing weeds before planting
- Hand weeding in small gardens
- Using shallow cultivation carefully
- Rotating crops to reduce weed pressure
- Using safe herbicide practices when appropriate for larger farms
Avoid deep cultivation that can damage shallow roots.
12. Watch for Pests
Lentils can be affected by insects and other pests. Regular field checking helps catch problems early.
Possible pests include:
- Aphids
- Cutworms
- Wireworms
- Grasshoppers
- Seed weevils
- Birds or rodents in some areas
Good pest management includes crop rotation, clean fields, monitoring, beneficial insects, and safe pest-control methods when needed.
13. Watch for Diseases
Lentils can develop diseases, especially in wet or humid conditions. Disease prevention starts with clean seed, crop rotation, proper spacing, and good drainage.
Common disease warning signs include:
- Yellowing leaves
- Brown or black spots on leaves
- Wilting plants
- Rotting stems or roots
- Patchy poor growth
- White or gray mold-like growth
Helpful prevention methods include:
- Use disease-free seed
- Rotate crops
- Avoid waterlogged fields
- Use proper spacing for airflow
- Remove infected plant material when practical
- Avoid planting lentils repeatedly in the same field
14. Support Good Flowering and Pod Development
Flowering and pod development are important stages. Stress during this period can reduce yield.
To support flowering and pods:
- Maintain moderate soil moisture
- Prevent severe weed competition
- Avoid unnecessary plant damage
- Monitor insects closely
- Keep plants healthy with balanced nutrients
15. Harvest Lentils at the Right Time
Lentils should be harvested when the plants are mature and the pods have dried enough. Harvesting too early can result in immature seeds. Harvesting too late can cause shattering, where pods break open and seeds fall to the ground.
Signs lentils are ready may include:
- Plants turning yellow or brown
- Lower pods becoming dry
- Seeds becoming firm
- Most of the crop reaching maturity
Handle plants carefully during harvest because dry pods can break easily.
16. Dry and Store Lentils Properly
Proper drying and storage help protect lentils from mold, insects, and spoilage.
Good storage practices include:
- Dry seeds well before storage
- Remove plant debris and damaged seeds
- Store in clean, dry containers
- Keep away from moisture
- Protect from insects and rodents
- Store in a cool, dry place
Common Mistakes to Avoid
- Using poor-quality seed
- Planting in waterlogged soil
- Planting too deep
- Ignoring weeds early
- Using too much nitrogen fertilizer
- Planting lentils repeatedly in the same field
- Ignoring disease signs in wet weather
- Harvesting too late and losing seeds to shattering
- Storing seeds before they are fully dry
Helpful Lentil Planting Routine
- Choose clean, healthy lentil seed
- Select a variety suited to your area
- Prepare loose, well-drained soil
- Plant during the proper cool-season window
- Use good spacing and shallow planting depth
- Control weeds early
- Water moderately and avoid waterlogging
- Check plants regularly for pests and disease
- Harvest when pods are dry and seeds are firm
- Dry and store lentils properly
Conclusion
Planting lentils properly begins with good seed, suitable soil, correct timing, careful spacing, moderate water, early weed control, and regular field observation. Lentils are valuable crops because they provide nutritious food and can help support soil fertility through nitrogen fixation.
With good preparation and consistent care, lentils can grow well in gardens or farms and produce a healthy harvest. The key is to avoid waterlogged soil, control weeds early, protect plants from pests and disease, and harvest before dry pods shatter.