A detailed, informative, helpful, and easy-to-read guide for building your own desktop computer.
Building a desktop PC can be one of the most rewarding tech projects you can do. Instead of buying a prebuilt system, building your own computer gives you more control over performance, parts, cooling, storage, appearance, and budget. It also helps you understand how your machine works, which makes future upgrades and troubleshooting much easier.
At first, building a PC may seem difficult because there are many parts involved, but the process is usually more straightforward than people expect. If you choose compatible parts and assemble them carefully, you can build a powerful, reliable desktop for gaming, work, content creation, coding, school, or everyday use.
Why Build Your Own Desktop PC?
There are several good reasons to build a PC instead of buying one already assembled:
- Better control over parts: You choose exactly what goes inside.
- Easier upgrades: You can replace or improve parts later.
- Potentially better value: You can focus your money on the parts that matter most.
- Customization: You can choose the size, color, cooling style, storage, and lighting.
- Learning experience: You gain useful computer knowledge and confidence.
What Parts Do You Need to Build a PC?
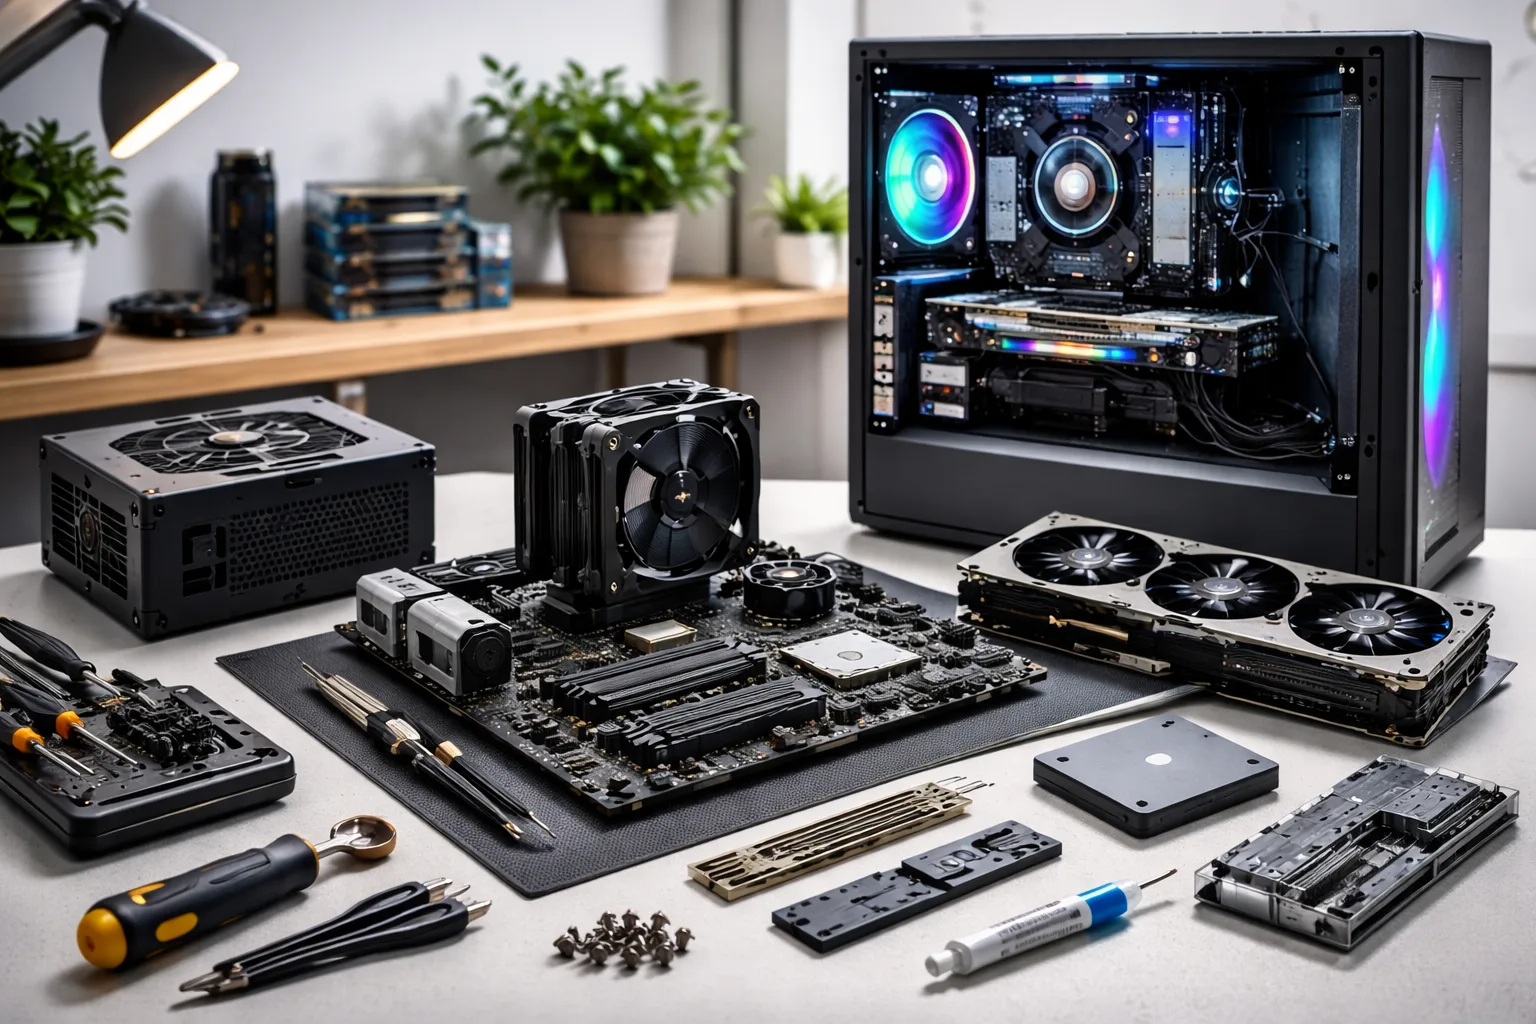
A desktop PC is made from several main components. Each one has a specific role:
1. Case
The case is the outer shell that holds all the parts. Cases come in different sizes such as full tower, mid tower, and mini tower. Make sure your case supports the size of your motherboard and graphics card.
2. Motherboard
The motherboard is the main board that connects all components together. It determines what CPU socket, RAM type, storage connections, and expansion options you can use.
3. CPU (Processor)
The CPU is the brain of the computer. It handles calculations, instructions, and processing tasks. Some CPUs are better for gaming, while others are stronger for multitasking or creative work.
4. CPU Cooler
The CPU cooler keeps the processor from overheating. Some CPUs come with a stock cooler, while others need an aftermarket air cooler or liquid cooler.
5. RAM (Memory)
RAM stores short-term working data for programs and the operating system. More RAM usually helps with multitasking and demanding applications.
6. Storage Drive
Storage holds the operating system, programs, and files. Common options include SSDs and HDDs. SSDs are much faster, and NVMe SSDs are usually the fastest common storage option for desktop PCs.
7. GPU (Graphics Card)
The graphics card handles visual output, gaming, 3D work, and some creative tasks. Some CPUs include integrated graphics, but for gaming or graphics-heavy work, a dedicated GPU is usually the better choice.
8. Power Supply (PSU)
The power supply provides electricity to all parts. It is important to choose a reliable unit with enough wattage for your system and future upgrades.
9. Fans
Case fans help move air through the system. Good airflow can improve temperatures and performance.
10. Operating System
After the hardware is assembled, you need an operating system such as Windows or Linux to use the computer.
Before You Buy Parts
Before buying anything, decide what the PC is mainly for. This helps you spend money where it matters most.
- Gaming PC: Usually needs a stronger GPU and a solid CPU.
- Work or school PC: May focus more on reliability, storage, and enough RAM.
- Video editing or 3D design PC: Often benefits from a stronger CPU, more RAM, and a capable GPU.
- Coding PC: Usually benefits from a good CPU, comfortable RAM capacity, and fast SSD storage.
Also think about your budget. It is better to build a balanced system than to spend too much on one part and too little on others.
How to Make Sure the Parts Are Compatible
Compatibility is one of the most important parts of a successful PC build. Check the following:
- The CPU must match the motherboard socket.
- The motherboard must support your RAM type and speed range.
- The case must fit the motherboard size.
- The case must have enough room for the GPU and cooler.
- The power supply must provide enough wattage and the right connectors.
- The motherboard should support the storage drives you want to use.
Taking time here can save a lot of frustration later.
Tools You May Need
Building a PC does not require many tools, but having a few basics makes it easier:
- Phillips screwdriver
- Small container for screws
- Zip ties or cable ties for cable management
- Clean, flat workspace
- Good lighting
Some builders also like to use an anti-static wrist strap, but careful handling is the main thing.
Step-by-Step: How to Build the PC
Step 1: Prepare Your Workspace
Choose a clean table with enough room for the case and parts. Avoid clutter and be gentle with all components. Keep screws organized so they do not get lost.
Step 2: Install the CPU on the Motherboard
Place the motherboard on its box or another safe surface. Open the CPU socket carefully, line up the CPU correctly, and lower it into place without forcing it. Then secure the socket.
The CPU should fit naturally when aligned correctly. Never push hard.
Step 3: Install the RAM
Open the RAM slot latches, line up the notch on the RAM with the slot, and press firmly until it clicks into place. If you are using two sticks, check the motherboard manual for the correct slots.
Step 4: Install the M.2 SSD (If Using One)
If you have an M.2 SSD, install it on the motherboard before putting the board into the case. This is usually easier while the board is outside the case.
Step 5: Install the CPU Cooler
Attach the cooler according to its instructions. Some coolers need mounting brackets, screws, or thermal paste. If thermal paste is not pre-applied, use the right amount according to the cooler instructions.
Then connect the cooler fan cable to the CPU fan header on the motherboard.
Step 6: Prepare the Case
Open the case panels and check that the motherboard standoffs are in the correct positions for your motherboard size. Some cases come with fans preinstalled, while others may need extra fans added.
Step 7: Install the Motherboard into the Case
If the motherboard uses a separate I/O shield, install that first. Then carefully place the motherboard into the case, align it with the standoffs, and screw it down securely. Do not overtighten.
Step 8: Install the Power Supply
Put the power supply into its mounting area in the case and secure it with screws. If the case has a bottom PSU mount, make sure the power supply fan is facing the correct direction based on airflow and dust filter placement.
Step 9: Install Storage Drives
If you are using 2.5-inch or 3.5-inch drives, mount them in the proper trays or brackets. Then connect both data and power cables as needed.
Step 10: Install the Graphics Card
Remove the correct expansion slot covers from the back of the case. Insert the graphics card into the top PCIe slot on the motherboard unless your manual says otherwise. Then secure the card to the case with screws.
Step 11: Connect Power Cables
Connect the main motherboard power cable, CPU power cable, GPU power cable if needed, and storage power cables. This is one of the most important parts of the build. Make sure everything is fully seated.
Step 12: Connect Front Panel and Case Cables
Connect the case front panel cables for power button, reset button, power light, audio, and USB ports. These connectors are small, so check the motherboard manual carefully.
Step 13: Manage the Cables
Use cable ties to keep cables neat and out of airflow paths. Good cable management helps the PC look better and can improve airflow.
First Boot
After everything is installed, connect the monitor, keyboard, mouse, and power cable. Turn on the power supply, then press the case power button.
If the system starts, you should see the motherboard logo or BIOS screen. If it does not start right away, do not panic. Recheck the RAM, power cables, monitor connection, and front panel connectors.
Enter BIOS and Check the System
The BIOS or UEFI is the motherboard’s setup screen. Here, you can confirm that the CPU, RAM, and storage drives are detected. You can also check system temperatures and make sure fans are spinning correctly.
If your RAM supports higher performance profiles, you may need to enable the proper memory setting in BIOS.
Install the Operating System
Next, install your operating system from a bootable USB drive. Follow the installation steps, choose the target drive, and let the system complete setup.
After that, install motherboard drivers, graphics drivers, updates, and essential software.
Common Mistakes to Avoid
- Buying incompatible parts
- Forgetting motherboard standoffs
- Not plugging in CPU power
- Using too much or too little thermal paste
- Not seating RAM fully
- Connecting the monitor to the wrong video output
- Poor airflow or messy cable placement
How to Keep Your New PC Running Well
- Clean dust filters and fans regularly
- Keep drivers updated
- Monitor temperatures from time to time
- Upgrade storage or RAM when needed
- Back up important files
A well-maintained desktop can last for years and remain easy to upgrade.
Conclusion
Building a desktop PC is a practical and rewarding project. It gives you control over performance, budget, and future upgrades. While there are several steps, each one is manageable when you move carefully and check part compatibility ahead of time.
Once the build is complete, you will not only have a custom computer, but also the knowledge to maintain, improve, and troubleshoot it with confidence. For many people, building the first PC is the hardest one. After that, the process becomes much easier and much more enjoyable.