Rubbing disc brakes waste energy, cause noise, and wear pads prematurely. The good news: most issues are simple to diagnose with basic tools. Follow these steps to silence your brakes and restore smooth spinning wheels.
Tools You’ll Need
- Bike stand or a way to lift the wheel off the ground
- 5 mm or 4 mm hex keys (depending on your caliper)
- T25 Torx wrench for rotor bolts (if needed)
- Clean rag and isopropyl alcohol (at least 70%)
- Thin business card or feeler gauge
- Rotor truing tool (or adjustable wrench wrapped in cloth)
- Light source to inspect pad clearance
Step 1: Confirm the Rub Source
- Lift the wheel and spin it. Listen for scraping.
- Watch the caliper from above. If the rotor deviates side to side, it may be bent.
- If the noise only happens under braking, contamination may be the culprit rather than rub.
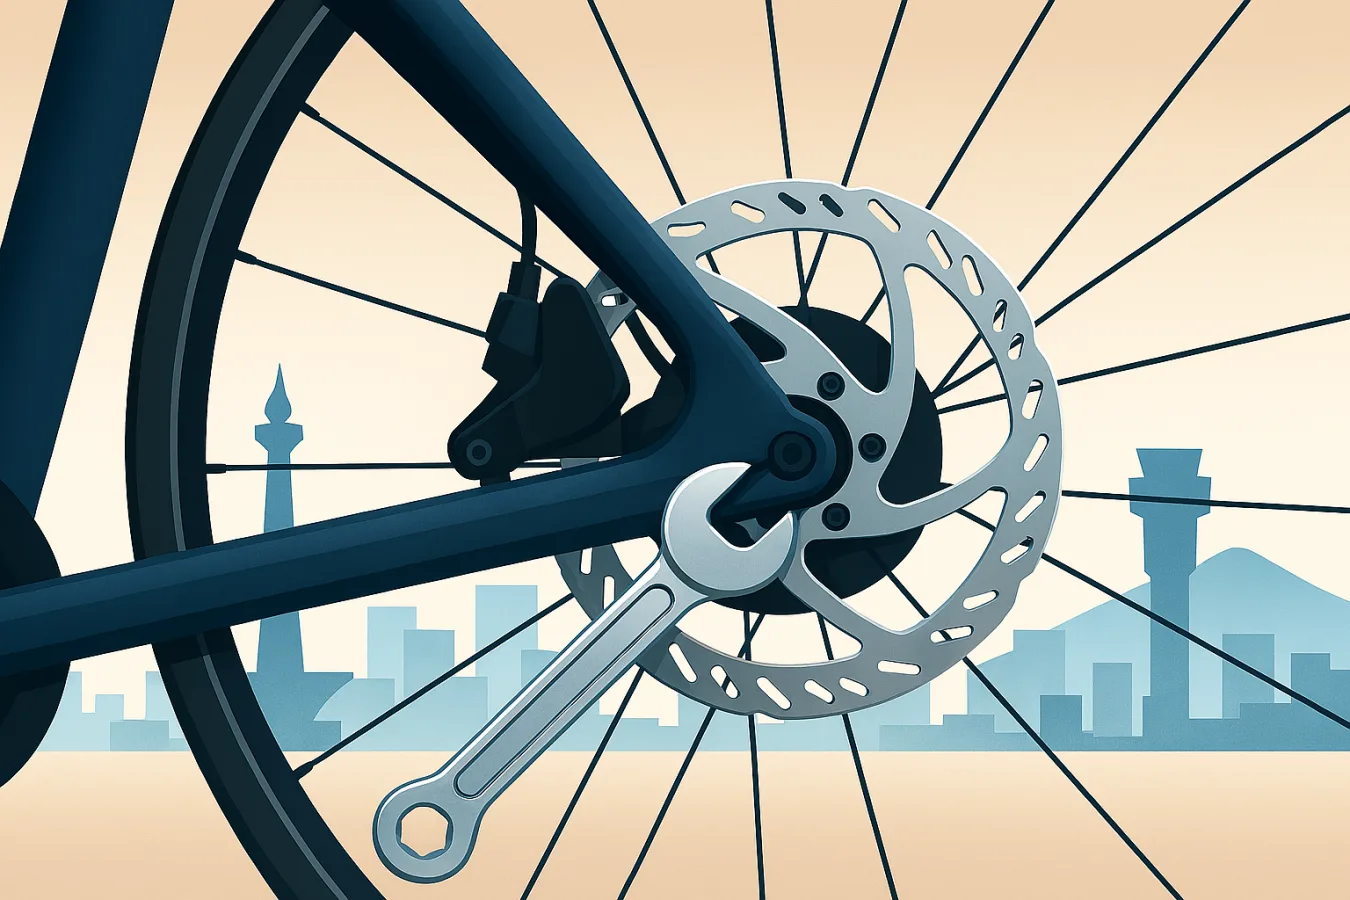
Step 2: Recentre the Caliper
- Loosen the two caliper mounting bolts just enough that the caliper can move side to side.
- Squeeze and hold the brake lever to align the caliper over the rotor.
- While holding the lever, tighten both bolts evenly to the torque printed on the caliper (typically 6–8 Nm).
- Release the lever and spin the wheel. Minor rub should disappear.
If the rub persists, use a thin card between one pad and the rotor while tightening the bolts. This forces a small additional gap on the rubbing side.
Step 3: True a Bent Rotor
- Identify the rotor section that scrapes. It will push the pad outward as it passes.
- Insert a rotor truing tool at the bent spot and gently bend away from the pad.
- Work in tiny adjustments—apply light pressure, rotate the wheel, and recheck.
- Repeat until the rotor spins without touching either pad.
Heat can warp rotors. Avoid cooling a hot rotor with water and check bolt torque regularly (6 Nm for most 6-bolt rotors, 40 Nm for Center Lock lockrings).
Step 4: Clean Pads and Rotor
- Remove the wheel and take out the brake pads.
- Wipe the rotor with isopropyl alcohol. Avoid touching the braking surface with bare fingers.
- Scuff glazed pads lightly with fine-grit sandpaper (220 grit), then wipe clean.
- Reinstall pads, ensuring spring clips sit correctly.
Step 5: Check Hub and Frame Alignment
If rubbing continues, inspect the wheel itself:
- Hub bearings: Worn bearings allow the rotor to wobble. Service or replace hubs as needed.
- Axle seating: Make sure thru-axles are tightened to spec (usually 10–12 Nm) and quick-release skewers are firm.
- Frame alignment: Rare, but dropout alignment issues can pull the caliper out of square. A bike shop can check facing.
Step 6: Bed In the Pads Again
After cleaning or replacing pads, bed them in:
- Find a safe, flat area. Accelerate to 10–15 mph.
- Brake firmly to walking speed (do not fully stop). Repeat 10–15 times.
- Increase speed to 20 mph and repeat 3–5 times for powerful brakes.
- Allow rotors to cool before storing the bike.
Preventing Future Brake Rub
- Inspect pad wear weekly if you commute daily. Replace pads when friction material reaches 1 mm.
- Torque rotor bolts and caliper bolts after travel or wheel removals.
- Keep rotors free from chain lube overspray by covering them when lubricating the chain.
- Store bikes upright; leaning heavily on one rotor can warp it over time.
When to Visit a Pro Mechanic
If you notice deep grooves in the rotor, leaking hydraulic fluid, or persistent rubbing after following these steps, schedule a professional service. Riding with damaged brakes risks safety.