A detailed, informative, helpful, and easy-to-read guide to making soft, fresh, homemade bread.
Bread is one of the most basic and useful foods people can make at home. With simple ingredients like flour, water, yeast, salt, and a little sugar or oil, you can create a warm, fresh loaf that tastes better than many store-bought breads.
Making bread may seem difficult at first, but the process is simple once you understand the basic steps: mixing, kneading, rising, shaping, baking, and cooling. This guide explains how to make bread in a clear and practical way, even if you are a beginner.
1. Basic Ingredients for Homemade Bread
Most basic bread recipes use only a few ingredients. Each one has an important job.
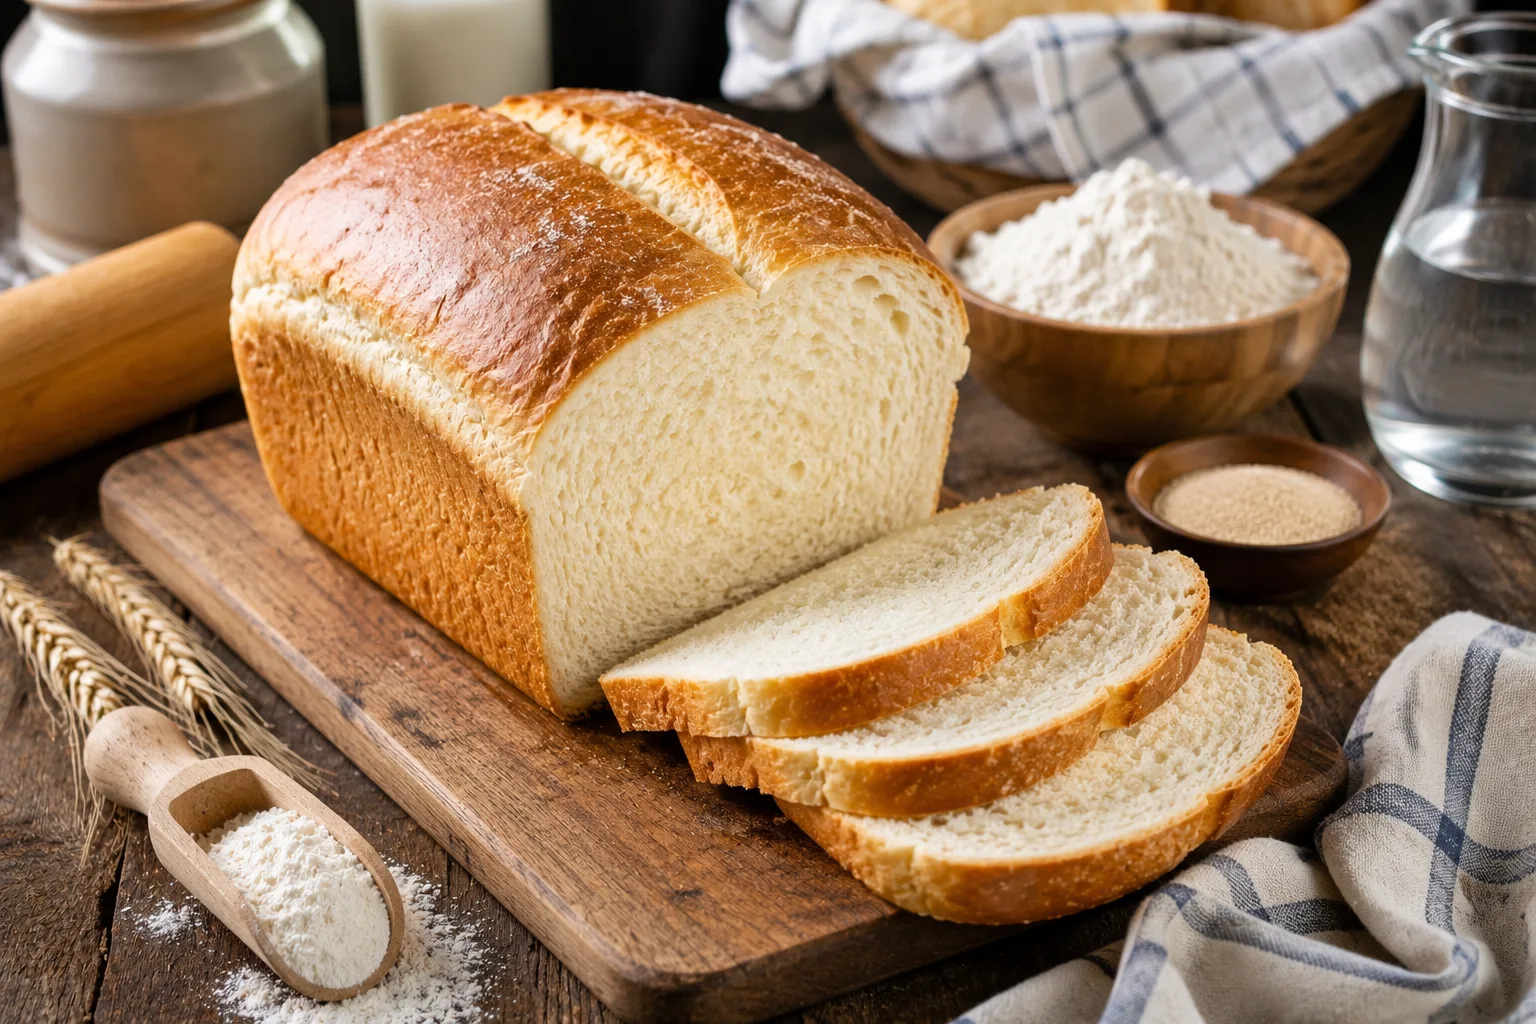
- Flour: Gives bread structure. All-purpose flour works, but bread flour gives a chewier texture.
- Water: Hydrates the flour and helps form the dough.
- Yeast: Helps the bread rise by creating gas inside the dough.
- Salt: Adds flavor and helps control yeast activity.
- Sugar: Feeds the yeast and adds slight sweetness.
- Oil or butter: Makes the bread softer and richer.
2. Easy Homemade Bread Recipe
Ingredients
- 3 cups all-purpose flour or bread flour
- 1 cup warm water
- 2 1/4 teaspoons active dry yeast or instant yeast
- 1 tablespoon sugar
- 1 teaspoon salt
- 2 tablespoons oil or melted butter
The water should be warm, not hot. If the water is too hot, it can kill the yeast. A comfortable warm temperature is best.
3. Step-by-Step Instructions
Step 1: Activate the Yeast
In a large bowl, mix warm water, sugar, and yeast. Let it sit for about 5 to 10 minutes. If the yeast is active, the mixture should become foamy. This shows that the yeast is working.
If the mixture does not foam, the yeast may be old or the water may have been too hot or too cold.
Step 2: Mix the Dough
Add flour, salt, and oil or melted butter to the yeast mixture. Stir until a rough dough forms. The dough should be soft and slightly sticky, but not extremely wet.
Step 3: Knead the Dough
Place the dough on a lightly floured surface. Knead it for about 8 to 10 minutes by pushing it forward with your hands, folding it back, and repeating.
Kneading develops gluten, which helps the bread become soft, stretchy, and structured. The dough is ready when it feels smooth and elastic.
Step 4: First Rise
Place the dough in a lightly oiled bowl. Cover it with a clean towel or plastic wrap. Let it rise in a warm place for about 1 hour, or until it doubles in size.
Rising time can change depending on room temperature. A warmer kitchen helps dough rise faster, while a cooler kitchen slows it down.
Step 5: Shape the Dough
After the dough has risen, gently press it down to release extra air. Shape it into a loaf and place it into a greased loaf pan.
Step 6: Second Rise
Cover the shaped dough again and let it rise for another 30 to 45 minutes. It should become puffy and almost reach the top of the loaf pan.
Step 7: Bake the Bread
Preheat the oven to 375°F. Bake the bread for about 30 to 35 minutes, or until the top is golden brown. The bread should sound hollow when tapped gently on top.
Step 8: Cool Before Slicing
Remove the bread from the pan and place it on a cooling rack. Let it cool for at least 20 to 30 minutes before slicing. Cutting too soon can make the inside gummy.
4. How to Know If the Dough Is Right
Good bread dough should feel soft, smooth, and slightly elastic. It may be a little sticky, but it should not stick heavily to your hands.
If the dough is too sticky, add flour one tablespoon at a time. If it is too dry, add water one teaspoon at a time. Small adjustments are better than adding too much at once.
5. Why Bread Needs to Rise
Rising allows the yeast to create gas inside the dough. This gas makes the bread light and fluffy instead of flat and dense. The first rise develops flavor and structure. The second rise helps the shaped loaf become soft and airy.
6. Common Bread-Making Mistakes
- Using hot water: Hot water can kill yeast.
- Not kneading enough: Bread may become dense or crumbly.
- Adding too much flour: Bread can become dry and heavy.
- Skipping the second rise: The loaf may not be as light.
- Slicing too soon: The inside may become gummy.
- Old yeast: The dough may not rise properly.
7. Helpful Tips for Better Bread
- Use fresh yeast for better rising.
- Measure flour carefully and avoid packing it down too tightly.
- Let the dough rise in a warm, draft-free place.
- Do not rush the rising process.
- Brush the top with melted butter after baking for a softer crust.
- Use bread flour if you want a stronger, chewier loaf.
8. Flavor Ideas
Once you understand basic bread, you can try different flavors.
- Garlic bread: Add garlic powder and herbs to the dough.
- Cheese bread: Add shredded cheese before shaping.
- Honey wheat bread: Replace sugar with honey and use part whole wheat flour.
- Cinnamon bread: Add cinnamon sugar before rolling the dough into a loaf.
- Herb bread: Add rosemary, thyme, basil, or oregano.
9. How to Store Homemade Bread
Homemade bread does not contain as many preservatives as store-bought bread, so it may dry out faster. Store it in a bread bag, airtight container, or wrapped in a clean towel at room temperature.
Homemade bread is usually best within 2 to 3 days. For longer storage, slice the bread and freeze it in a freezer-safe bag. You can toast frozen slices directly or let them thaw at room temperature.
10. Can You Make Bread Without a Mixer?
Yes. Bread can be made completely by hand. A stand mixer can make kneading easier, but it is not required. Hand-kneading also helps you learn how dough should feel.
11. Can You Make Bread Without Yeast?
Yes, but it will be a different kind of bread. Yeast bread rises slowly and has a classic bread texture. No-yeast breads, such as soda bread or quick bread, use baking powder or baking soda instead.
Conclusion
Making bread at home is simple, affordable, and rewarding. With flour, water, yeast, salt, and a little oil or butter, you can create a fresh loaf from scratch. The most important steps are using active yeast, kneading the dough properly, allowing enough time for rising, and letting the bread cool before slicing.
Once you learn the basic method, you can make many types of bread and customize the flavor to match your taste. Homemade bread is not only delicious, but it also gives you the satisfaction of creating something warm, fresh, and useful with your own hands.